Getting Started
Install the plugin, upload your video, and start streaming in under 2 minutes — no setup required.
Install & Activate
- Download and install the VideoFlowEngine plugin from your WordPress dashboard.
- Activate the plugin.
That's it — no API keys, no configuration, no account signup required.
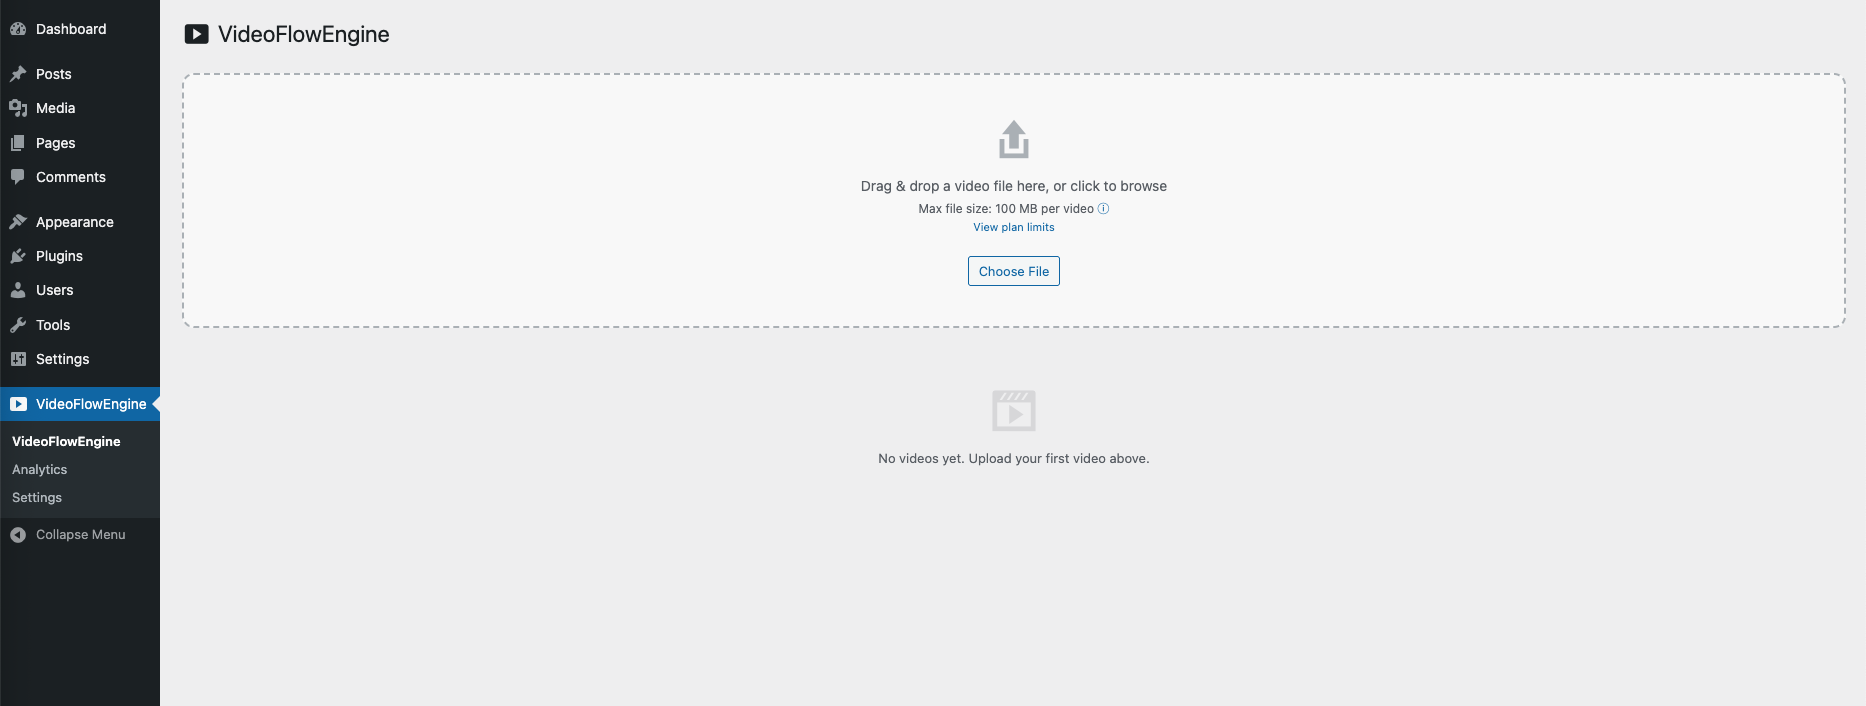
Upload Your Video
- Go to VideoFlowEngine in your WordPress admin.
- Drag & drop or browse to upload your video file.
We automatically encode it into HLS format (360p–1080p) for smooth playback. Encoding may take a few moments depending on video size.
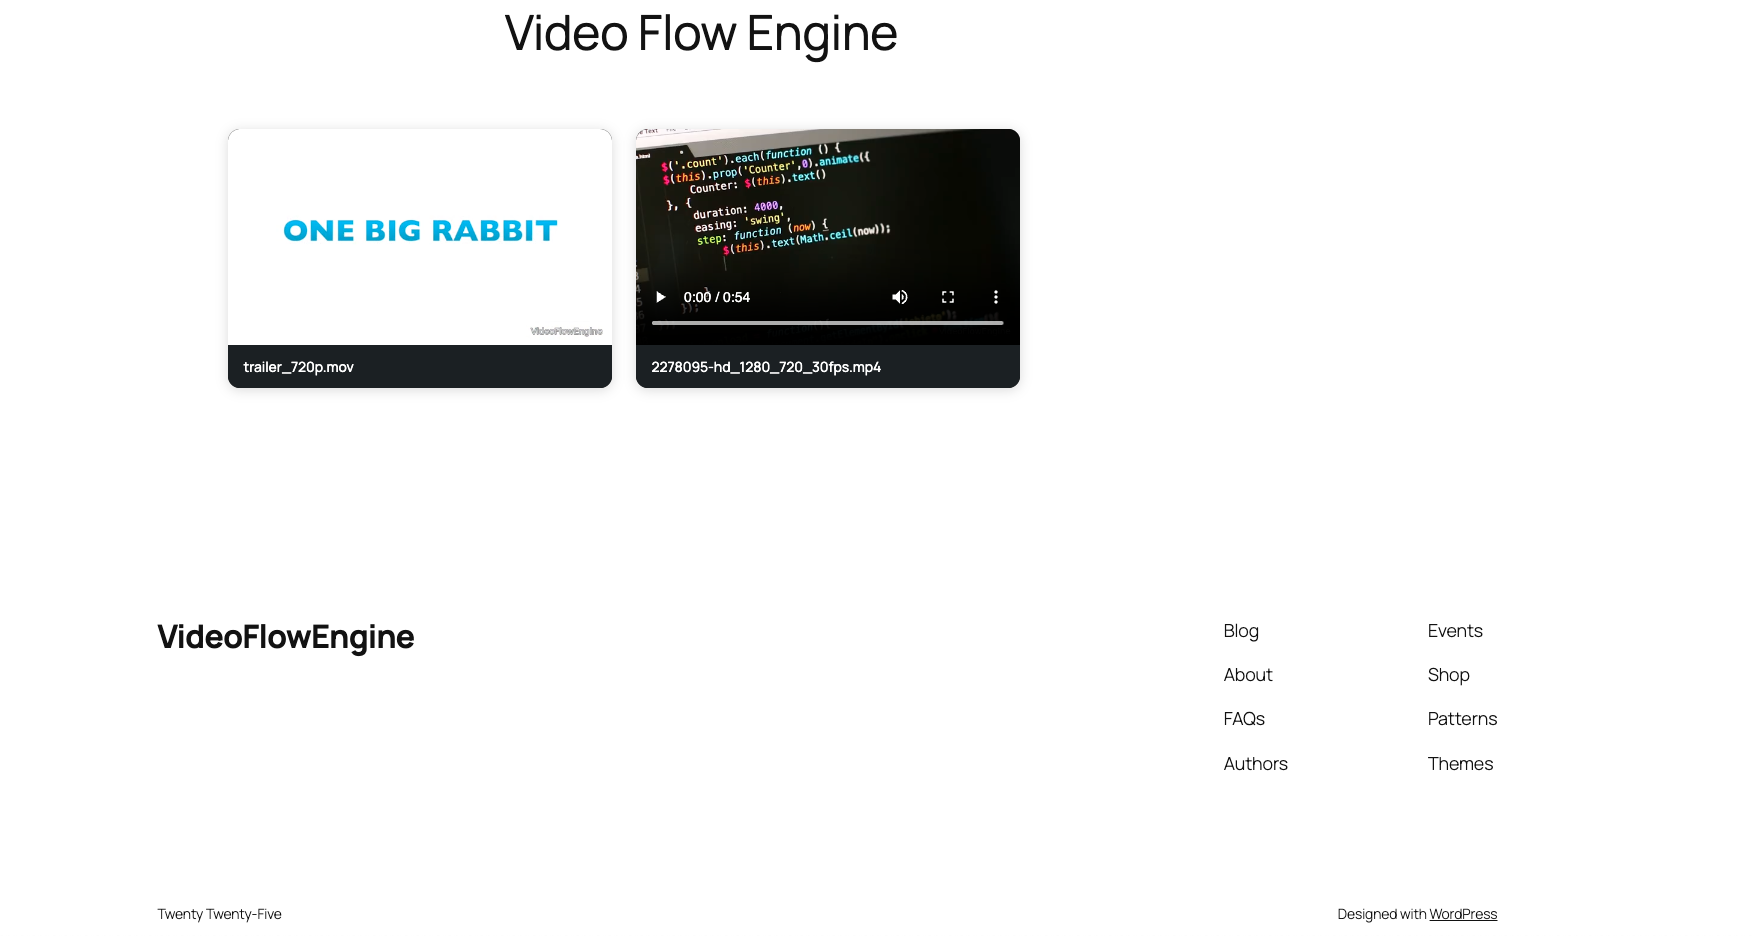
Embed & Stream
- Copy the shortcode for your video.
- Paste it into any post or page.
Your video will stream instantly with adaptive playback on all devices.
What happens after upload?
Your video is encoded into multiple resolutions (HLS adaptive streaming).
Delivered via global CDN for fast playback worldwide.
Optimized for all devices and network conditions — viewers automatically get the best quality their connection can handle.
Frequently Asked Questions
What video formats are supported?
MP4 and MOV (recommended). Most common formats including AVI, MKV, and WebM are also supported — all are converted to HLS for streaming.
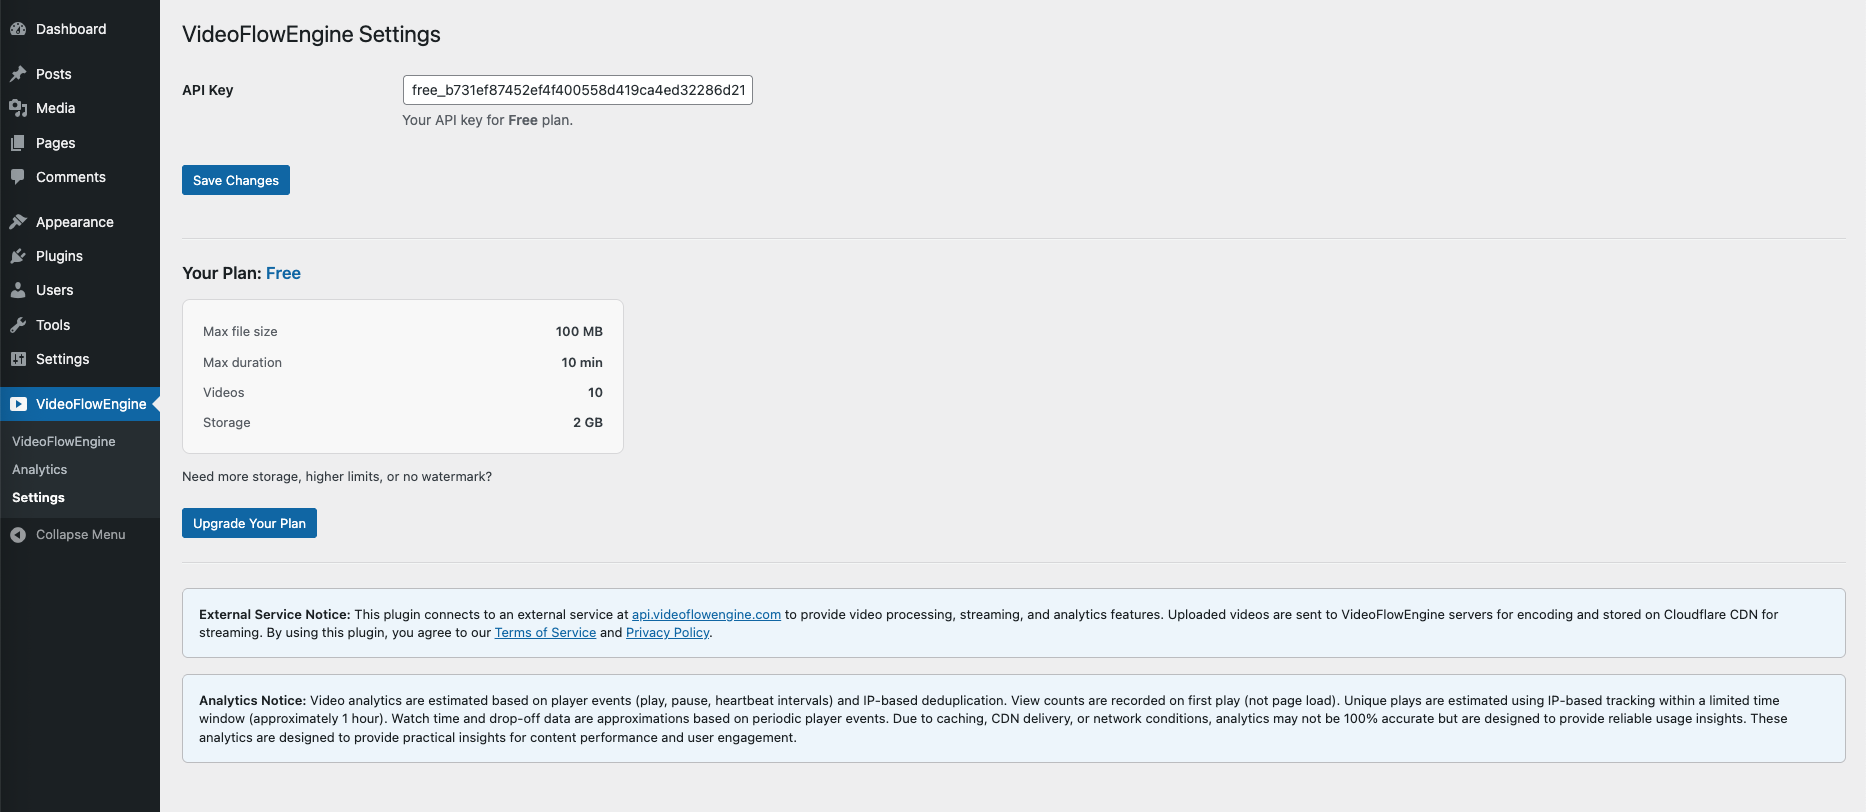
What happens when I reach my plan limit?
Uploads are paused until you upgrade your plan. Existing videos continue to work.
Can users download my videos?
Videos are delivered via HLS streaming, making direct downloads difficult. However, no online video system can fully prevent downloads.
Do I need to configure anything?
No. Everything works out of the box after installing the plugin.